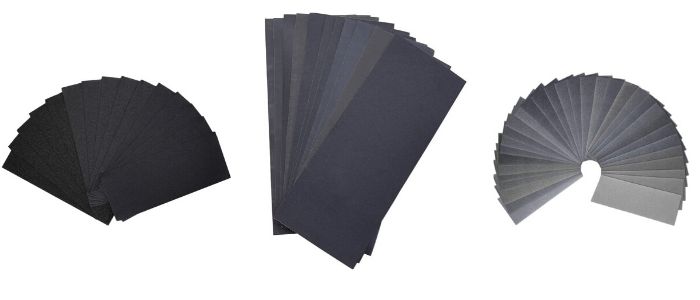
How To Use Sandpaper Like A Pro
Sandpaper, or glasspaper, has been around since the 13th century, when China used crushed shells, seeds, and sand, glued together with natural gum, to form an abrasive material. Since then, this common tool has taken many shapes and materials, evolving and improving each time and becoming an essential utensil for DIY projects and woodworking.
Now, even though it’s a fairly easy-to-use tool, the lack of knowledge on how to use sandpaper, its different types and various grit values can be the decisive factor between a beautiful, smooth table and a rough nightstand with marks and scratches all over. That’s why we’re here today to give you some pointers, regarding this tool and how to use it correctly.

Grit Values
First things first: What does the grit value mean? It refers to the coarseness of the tool in hand, i.e., the size of the abrasive particles. If you’re in the United States of America, the grit will be based on a scale called Coated Abrasive Manufacturers Institute (CAMI), that uses microns to measure it - the small grains on a piece of 100-grit measure 141 microns and are equivalent to 0.00550 of an inch - that small! Don’t forget to take into consideration that if you’re buying online from Europe, you’ll be working with the Federation of European Producers of Abrasives (FEPA) scale, which has some small differences.
Now, because most people use the CAMI scale, that’s the one will refer to. This scale goes from 24-grit to 2000 and beyond, even though the ones above 1000-grit are mainly used for automotive finishing. For house-hold projects, we recommend working with numbers between the 60 and 220-grit. Remember, the lower the number, the more material removed, but also more noticeable scratches; the bigger the value, the more effort in removing material, but a more polished appearance. These numbers will, most of the time, appear on the back of the paper.
The number one rule when tackling projects that need sanding is to work your grit over time, meaning you should start with a finer one (bigger grit value) and work your way to a more coarse one (lower grit value). Not following that rule can result in over-sanding details, leaving the surface too rough, or making you put an excessive amount of effort. Now, some grit values excel in some tasks, so here’s a guide that will help you choose the best one for your project:
Types of Material
As we’ve mentioned before, we’ve come a long way since crushed shells and seeds - thankfully! Even though all materials used are abrasive, there are small differences between them and knowing that will definitely improve your DIY skills, as well as the overall aspect of your projects!
Natural
Synthetic
Aluminum oxide is, as the name states, the mix between aluminum and oxygen. This blend forms an abrasive material and, probably, the most used sanding tool, worldwide. On one side is highly durable while, on the other side, highly versatile, as it can be used in a variety of materials, like wood, plastic, metal and drywall, as well as in both hand sanding and power sanding.
Next up, we have silicon carbide - a semiconductor material made of silicon and carbon. A plus over the latter one is its capacity to remove material quicker and more effortless, even though it won’t last as long. Usually used for rough sanding and paint or rust removal, you can add water to the mix to prevent scratching, as it's waterproof. It can also tackle various materials, like plastic, metal, hardwood and softwood.
Lastly, there’s the zirconia alumina. A synthetic material, made from zirconium dioxide and aluminum oxide, that excels in grinding metal burrs or rough sanding wood. It’s one of the most durable ones and like the last two, its particles break during sanding, meaning it can maintain its coarseness over time. Mainly used in power sanding, it can work with wood, fiberglass and metal, even though it really shows its talent with painted surfaces.
Tips on How to Use It Like a Pro
Still to this day, there’s a lot of people who use sandpaper by itself, wrapped around a sanding block (a piece of cut-out foam, a wooden block, a block of cork, etc...) but you’ll see the work cut in half - both in effort and in time - if you mount it on a power sander. Among all types of power sanders, palm sanders are likely the most popular for beginners due to their ease of use, versatility and really affordable prices. If you would like to check out a list of the best ones on the market, right now, click here.

How to use sandpaper might look like a question with a pretty simple answer - just rub the sander on the surface, right? Well, even though that’s the gist of it, here are some guides and tips that will help you reach better and more polished results:
Final Thoughts
Now that you’re much more informed on how to use sandpaper, nothing is standing between you and a pleasant afternoon of DIY projects. You’ll see the difference a bit of polishing can do to some boring furniture or a worn-out floor when your frequent guests will ask you: “Hey, where did you get that new table? It’s fantastic!”. Thanks for reading and, as always, have a great day!
Some of the new post from our blog

